


This guide will take you through step by step how to setup and configure Rclone in order to interact with files stored on Google Drive, and cover both the encrypted and unencrypted options. At the end of this guide you will find details on how to configure Plex to use the Google Drive remote.
Please make sure you're using the most recent version of our app from our Appstore. Google has made some changes to the way Google Drive integration works, which has required some changes on our end.
Setting up and configuring Rclone
- Install the rclone app from the Appstore (here)

- Click the link to rclone and when prompted enter the password you set in step 1

- Press the Config button in the bottom right corner of the window

- When prompted with "n/s/q>" type "n" and press enter, when prompted with "name>" type gdrive and press enter. This will be the name of your Google Drive

- When prompted with "Storage>" type "drive" and press enter
- When prompted with "client_id>" you can either press enter to use the Rclone main account API call quota, or create your own by following the guide at https://rclone.org/drive/#making-your-own-client-id
- When prompted with "client_secret>" you can either press enter to use the Rclone main account API call quota, or create your own by following the guide at https://rclone.org/drive/#making-your-own-client-id
- When prompted with "scope>" press enter
- When prompted with "root_folder_id" press enter
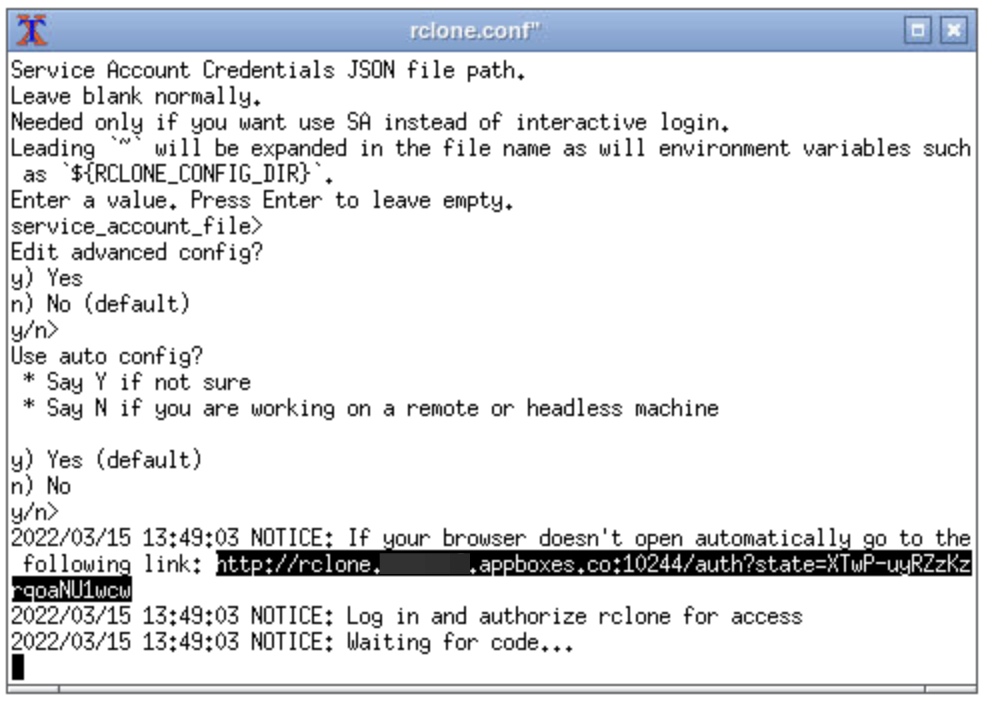
- When prompted with "service_account_file" press enter
- When prompted with "Edit advanced config? (y/n)" press enter
- When prompted with "Use auto config?" press enter
- When prompted with "Waiting for code..." highlight the URL as shown below
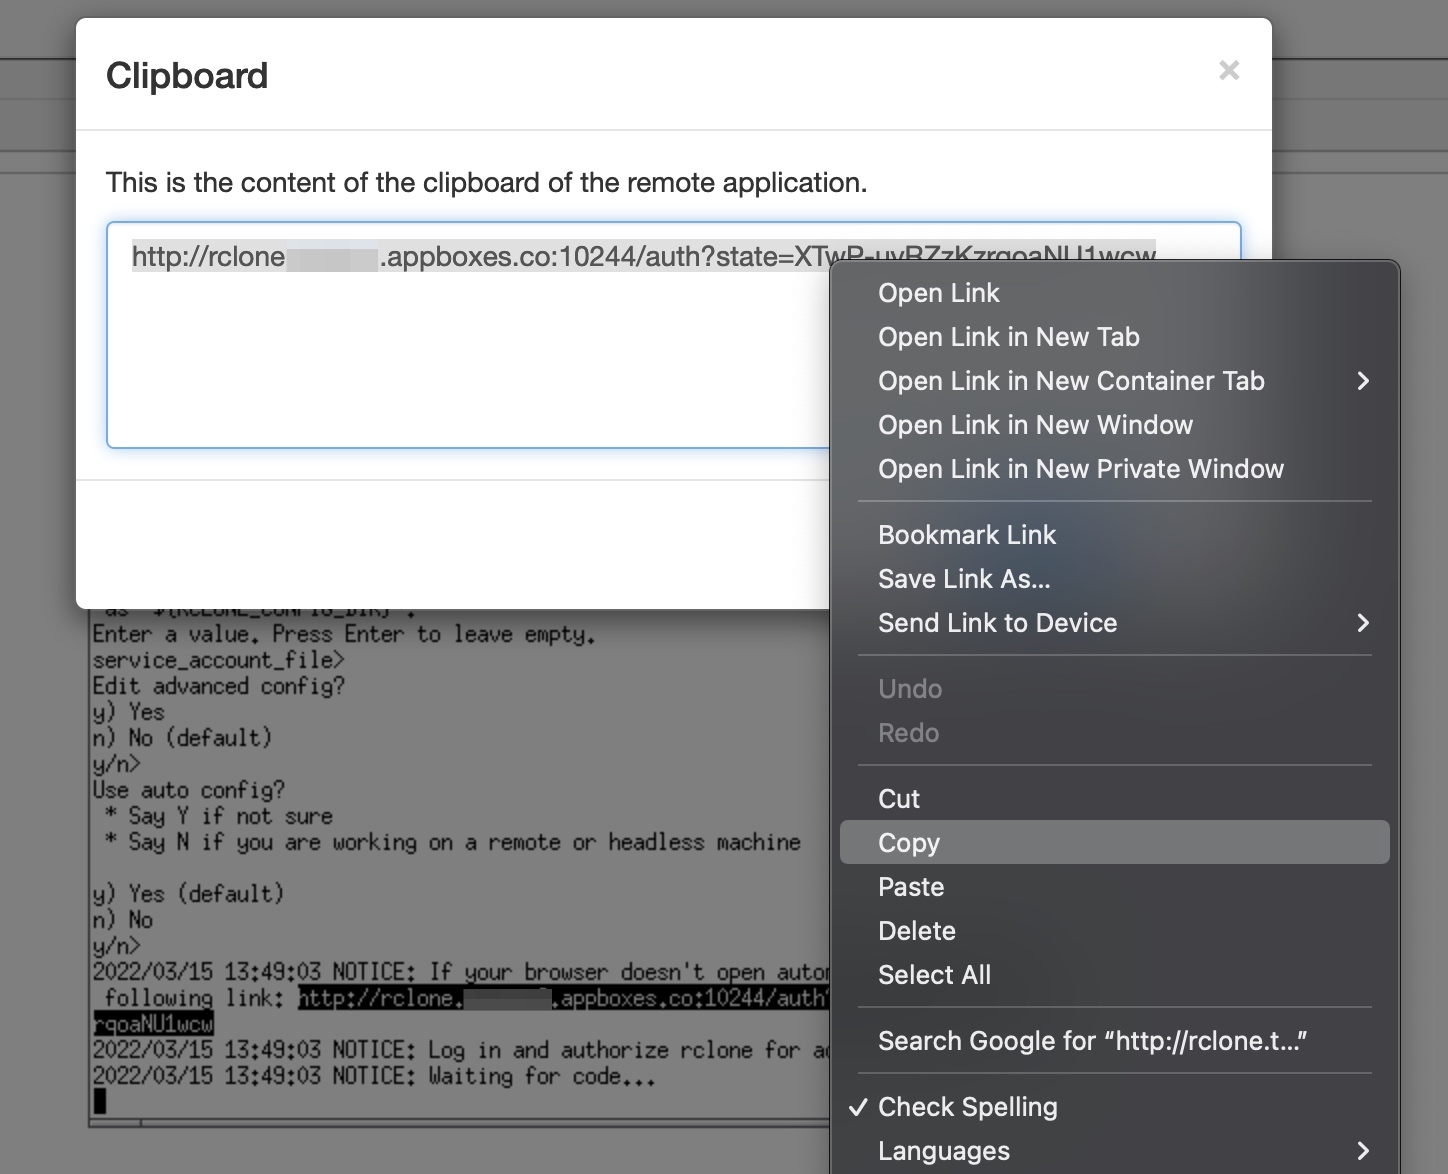
- Click on the "Clipboard" button in the top right of the browser window

- Highlight the URL in the box that has appeared and copy it to your clipboard (right click > copy, or ctl + c)
- Paste this URL (make sure it's http:// and not https://) into a new "incognito" or "private" mode browser tab and press enter. Please make sure you do not close the existing rclone-browser tab.

- Click on the name of your Google account with which your Google Drive is associated.
- Click the "Allow" button

- You will then be redirected to a page that doesn't exist. This is normal!
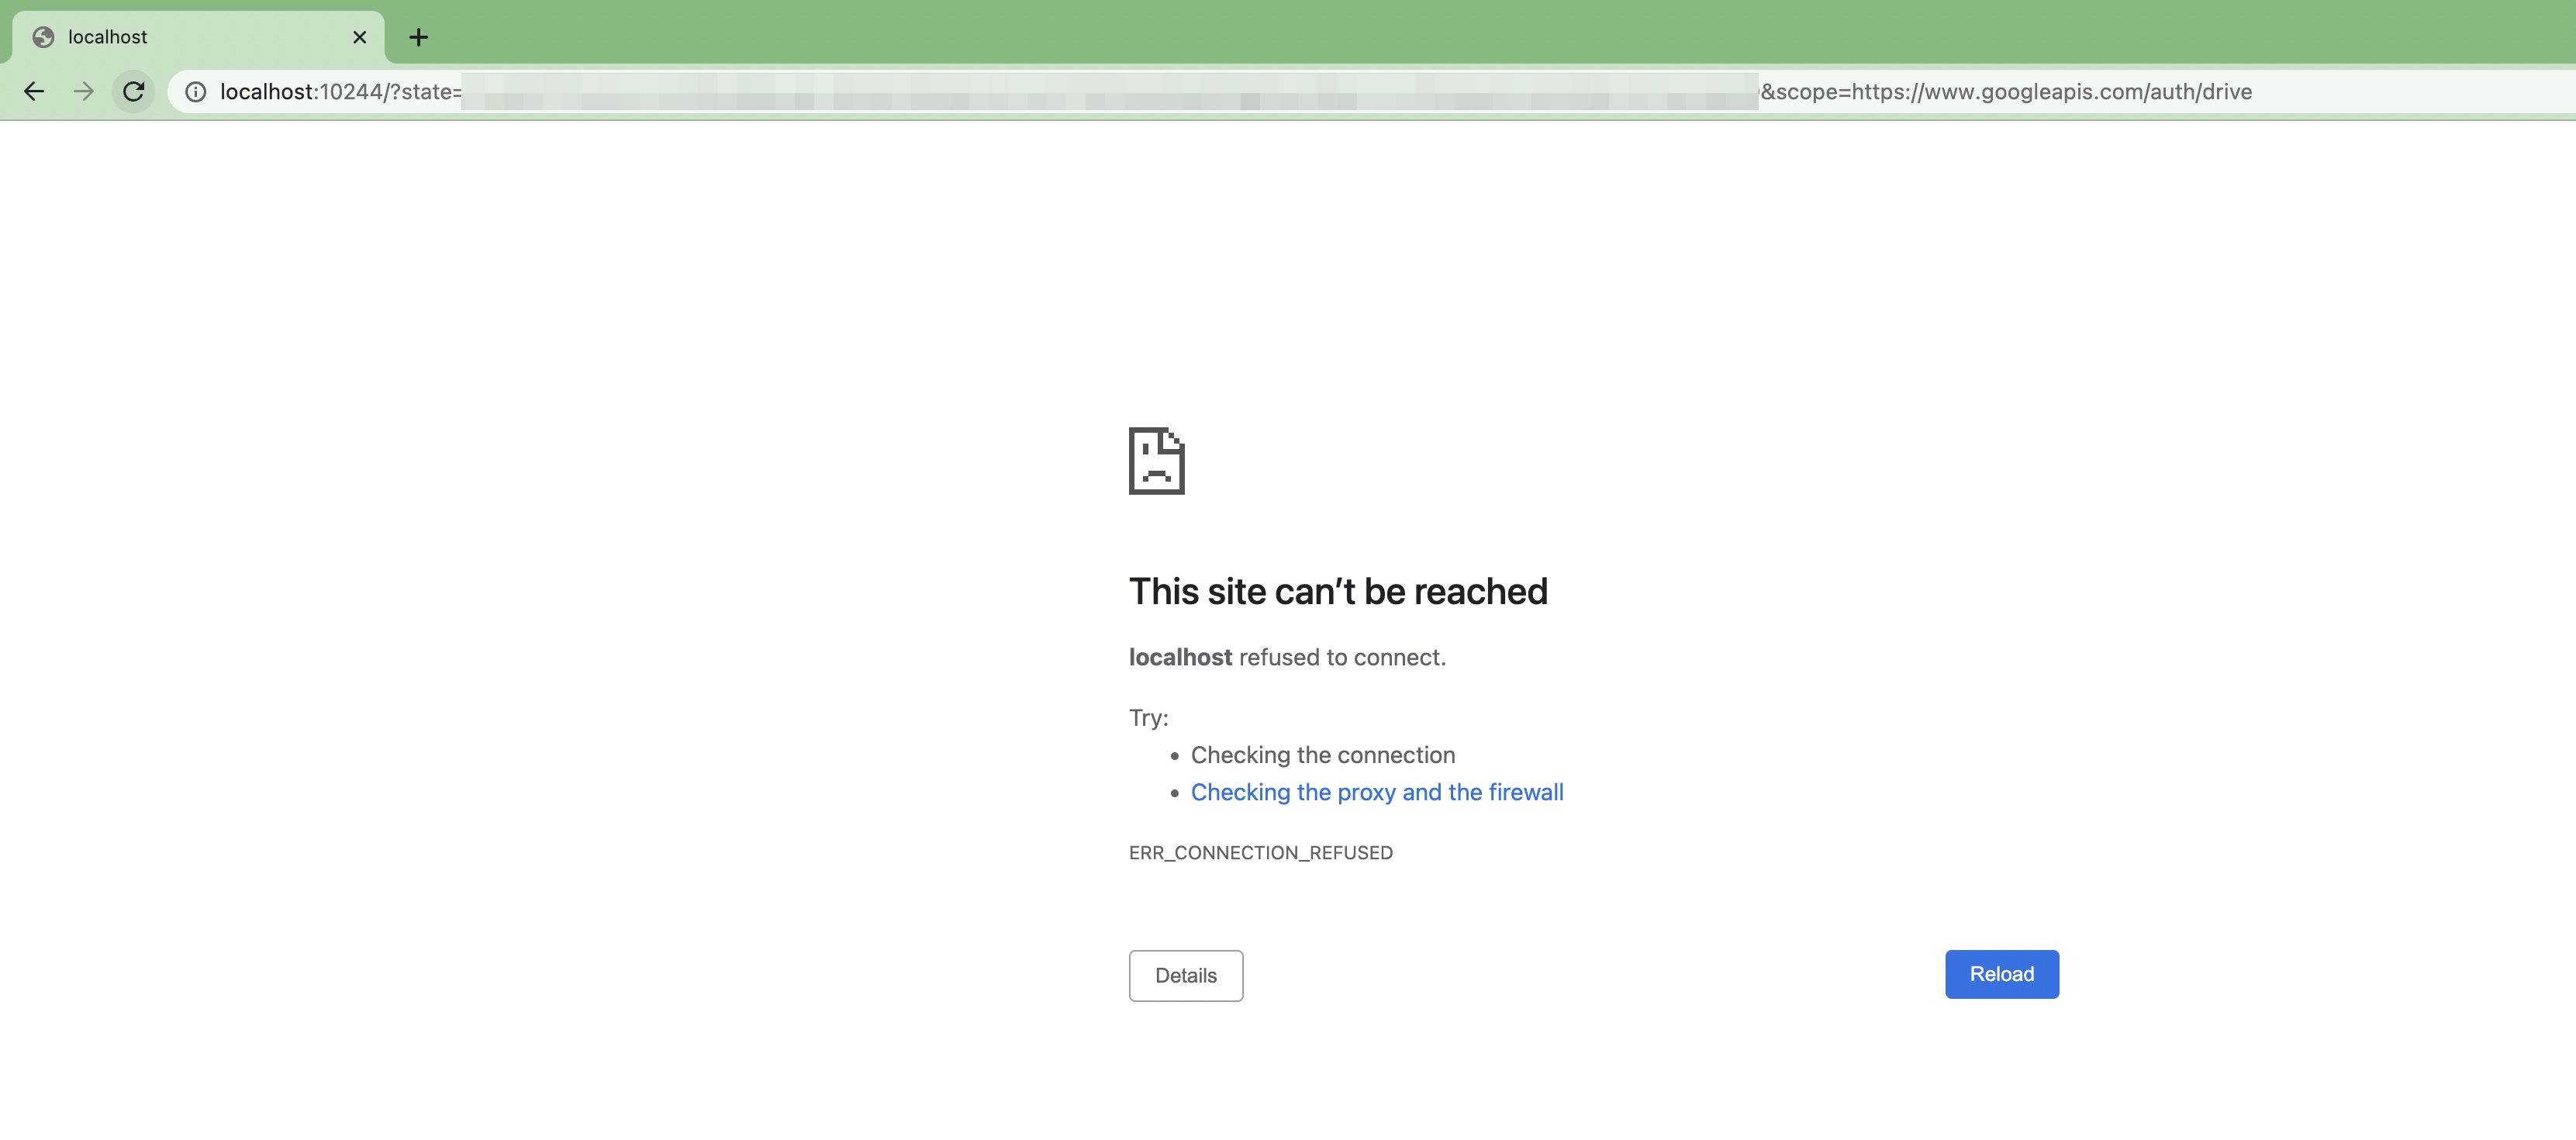
- In the browser address bar, delete "localhost" and replace it with your rclone app URL, for example "rclone.replace_this_with_your_username.appbox.co", then press enter.
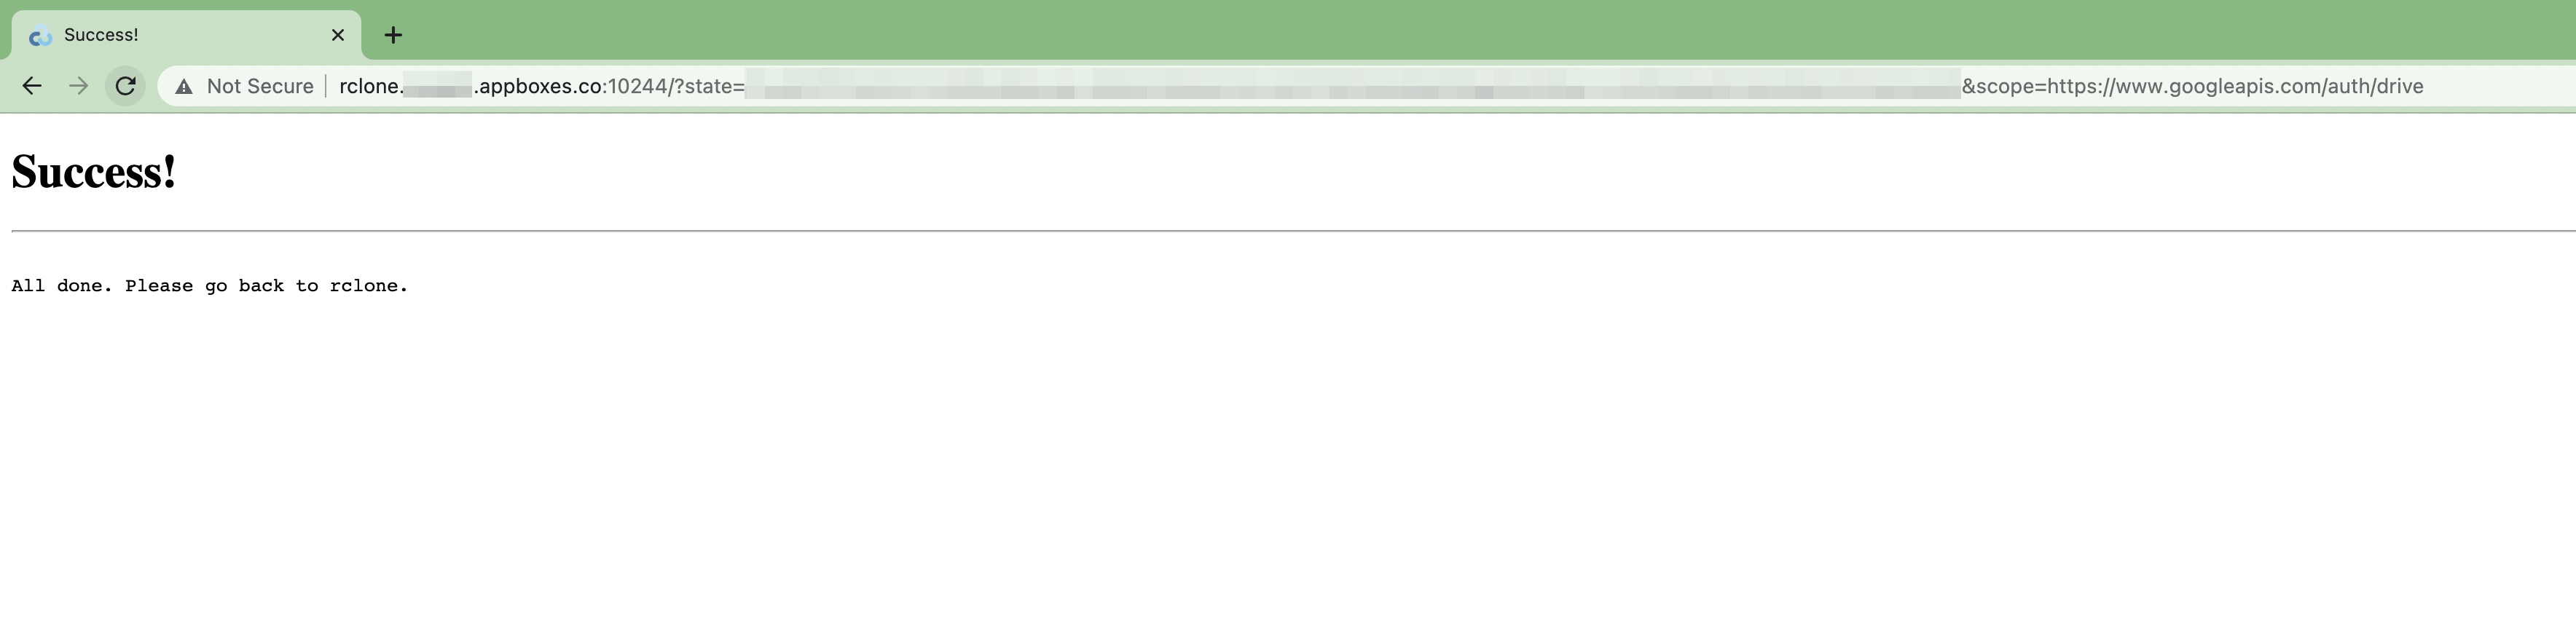
- Return to the Rclone tab, and you should see the below screen. When prompted "Configure this as a team drive?" press enter.

- You can check if it's mounted correctly using the "File Explorer" tab on your Appbox page.

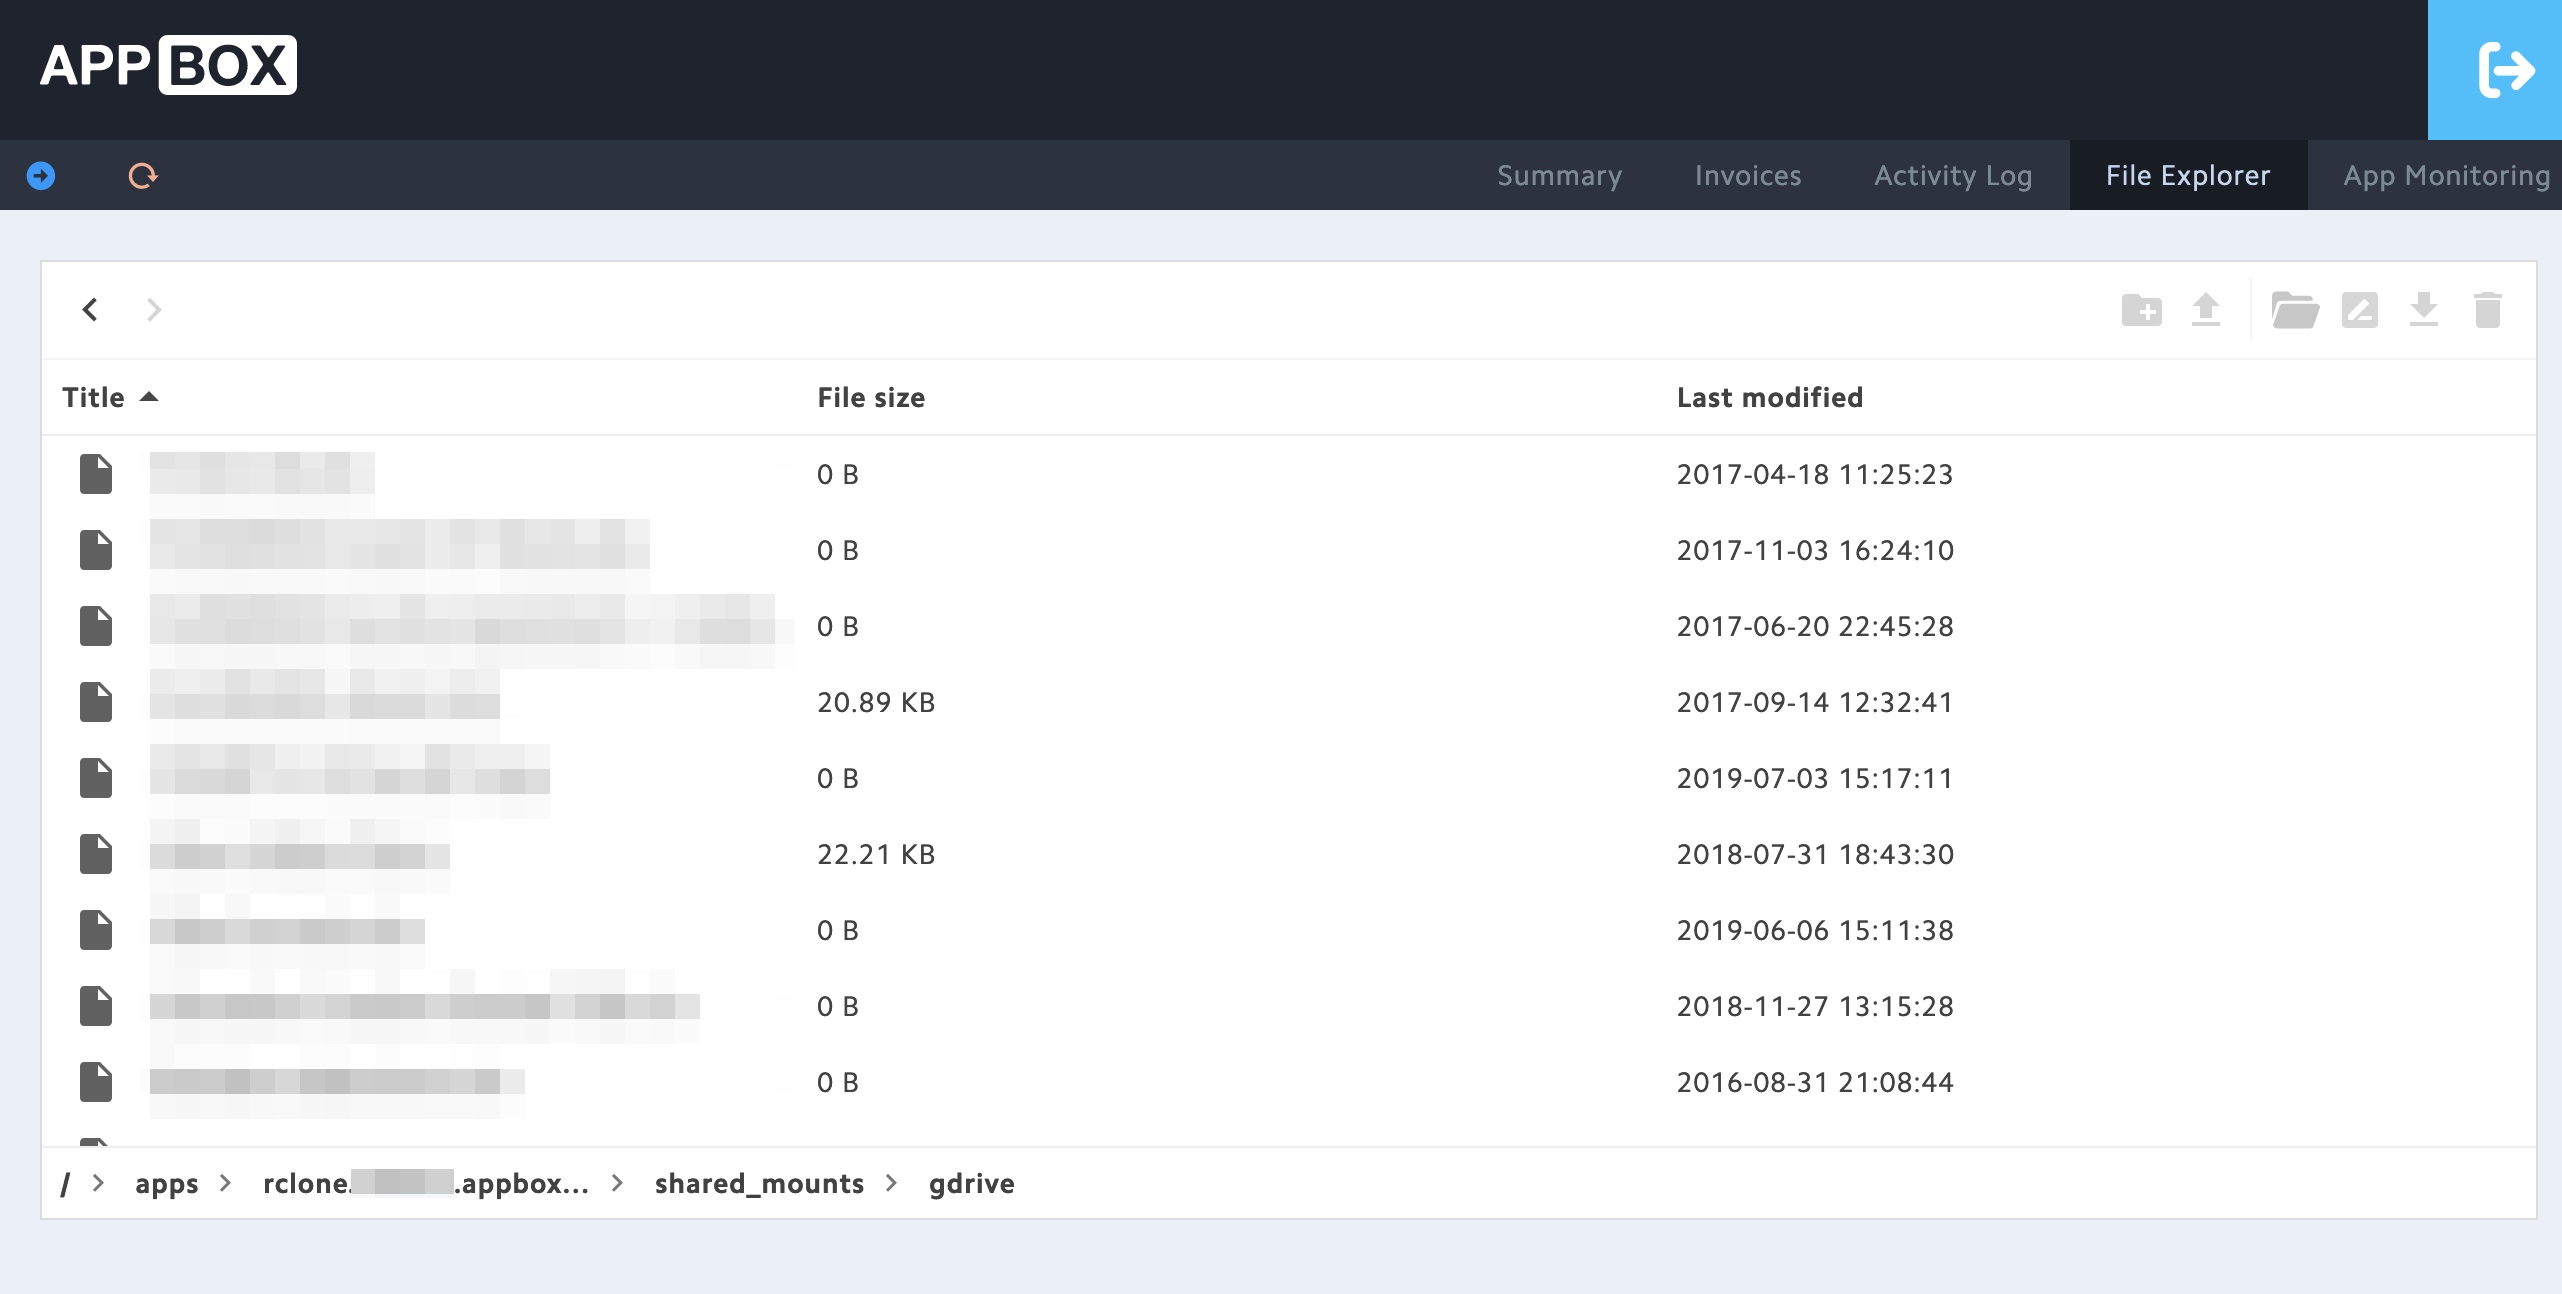
- Your Google Drive should now be mounted in your Rclone app folder! Now let's look at how we can add this to Plex.
Configuring Plex
- Open your Plex link from the Appbox dashboard

- Click your account dropdown menu, and then click "Account"

- Click "Select type", then select the type of library you want, then click "Add folders".

- Finally, click the "ADD LIBRARY" button.
Congratulations! You've successfully learned how to setup a remote in Rclone and add it to Plex.
Admin Submitted - Rid
